
 This post is the third—and final—post about Hiking the Grand Canyon Rim-to-Rim. Read up on the Physical Challenge (Part I) and the Mental Challenge Part II).
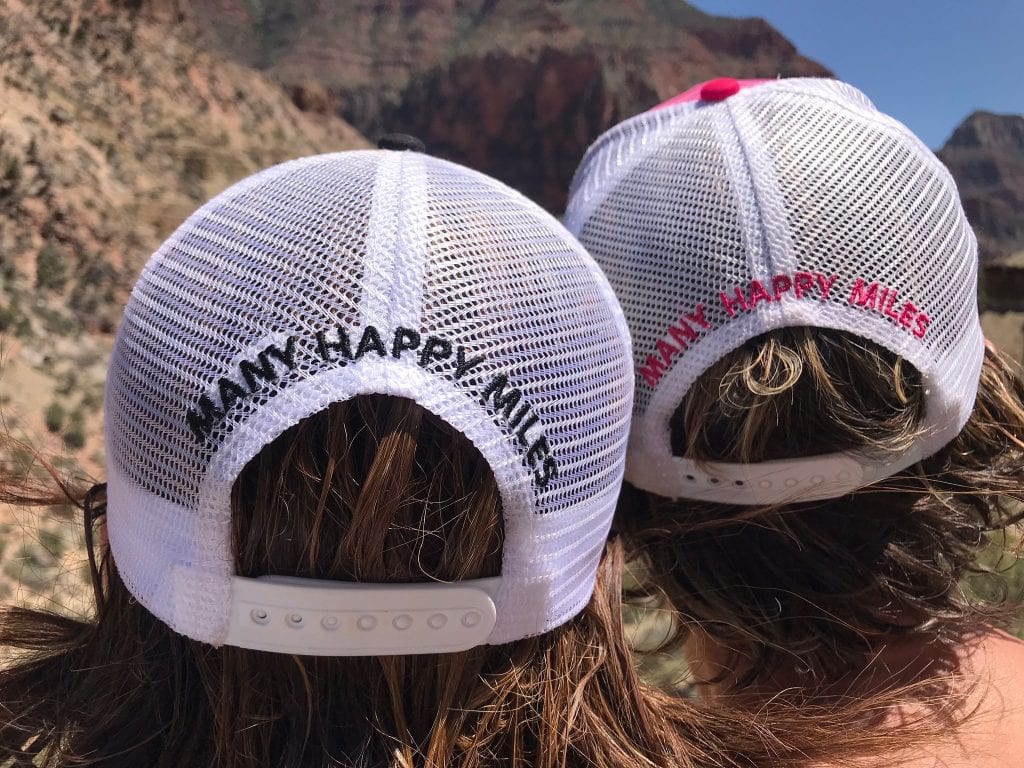
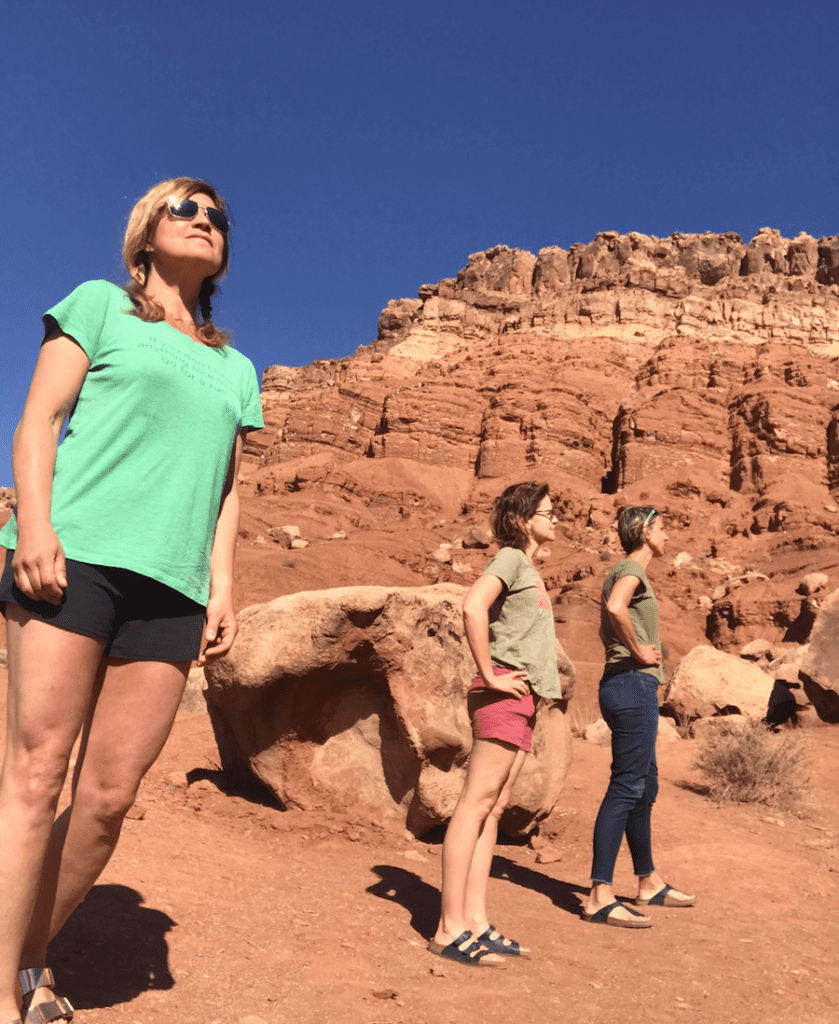
I informally coached Jo + Jess (the J-Team) for our Rim-to-Rim hike in early June. Our collective goal: to be strong + capable enough so that the day was fun, not a grind. I’m happy to report that it worked: We had a day full of many happy miles. Our pace was steady and legs were strong. The only thing we didn’t really prepare for was the heat, but unless you’re up for bringing a bike trainer in the sauna—we were not—we just had to trust we were fit enough to handle it.
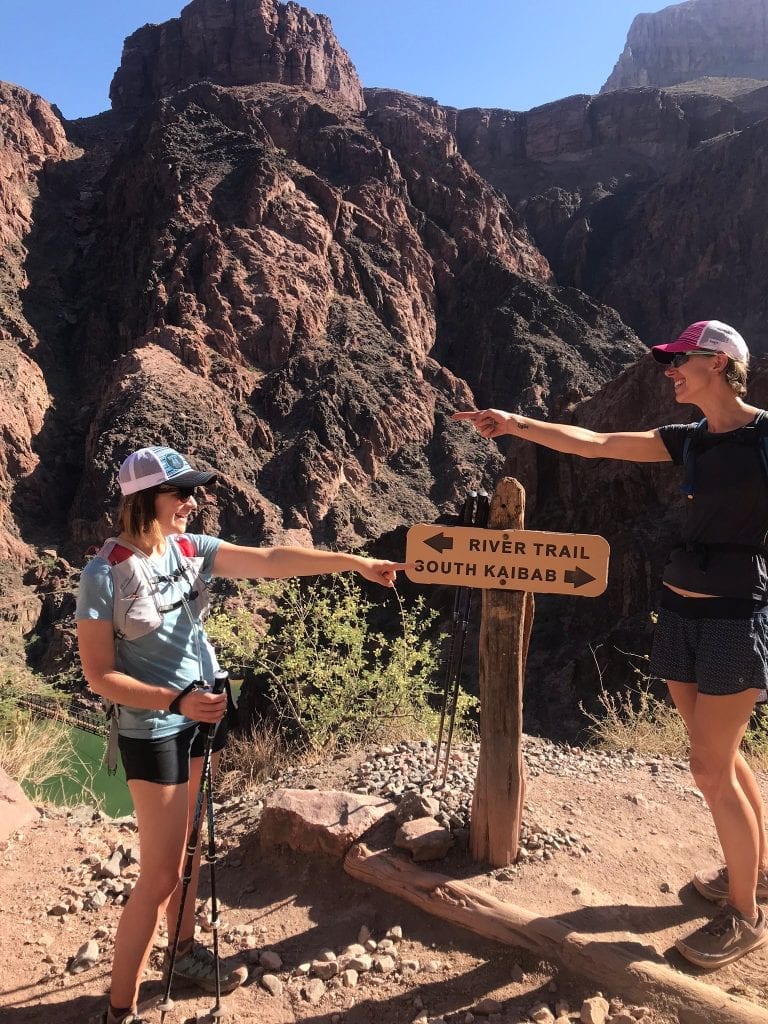
In addition to knowing we didnt have to worry about our fitness, we also didnt have to fret about getting lost–a frequently occurance for Jo and I on adventures.
Training for Rim-to-Rim Hike
Depending on your route in the Canyon, your mileage will be in the 20-25ish range. As such, a marathon training plan is a smart way to structure your training. I used the basic premise behind the Incredible Heart Rate Marathon Program and 26.2: Go the Distance as our scaffolding for Jo, Jess and myself. We would work out five days a week, and gradually increase the longer efforts on the weekends. Jo likes to do Pilates and yoga, while Jess was into a strength class at her local gym, and I had to continue to keep up basic physical therapy moves, so I folded that into the training as well.
Even though we were thinking like marathoners, we didn’t run much. Instead, these were our important tenets of training:
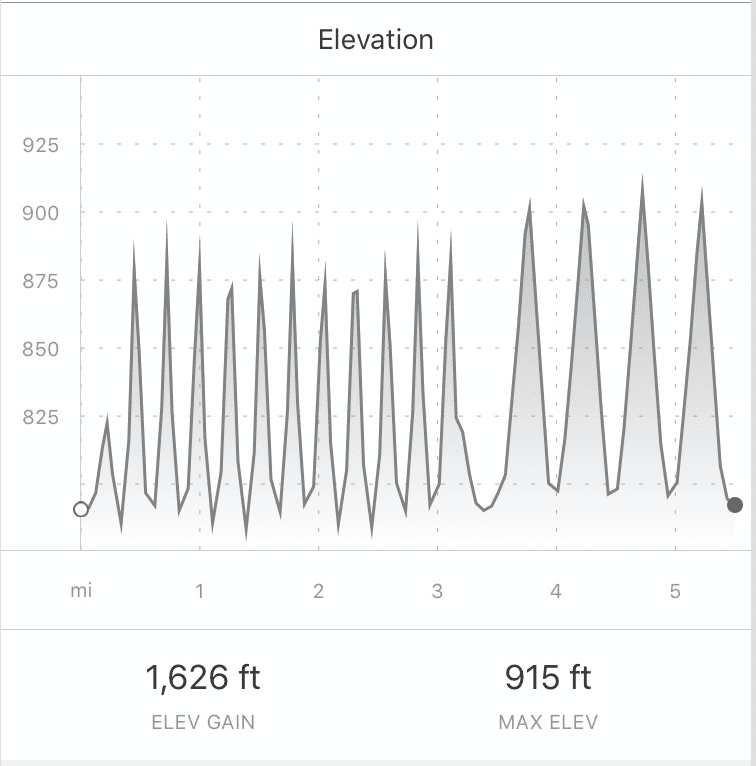
- Train on stairs. The J-Team have the J.J. Hill Stairs nearby; I have Red Rocks nearby. Athletic stadiums, hotel stairwells, and anywhere else where there are copious stairs are great options.

Eleven trips up and down the J.J. Hill Stairs of Pain, then four hill repeats on nearby Ramsey Hill. As much up as down: perfect!
Real stairs, as opposed to a Stepmill or Stairmaster, are preferred because you get no mechanical assist, and you can go up as well as down.
-

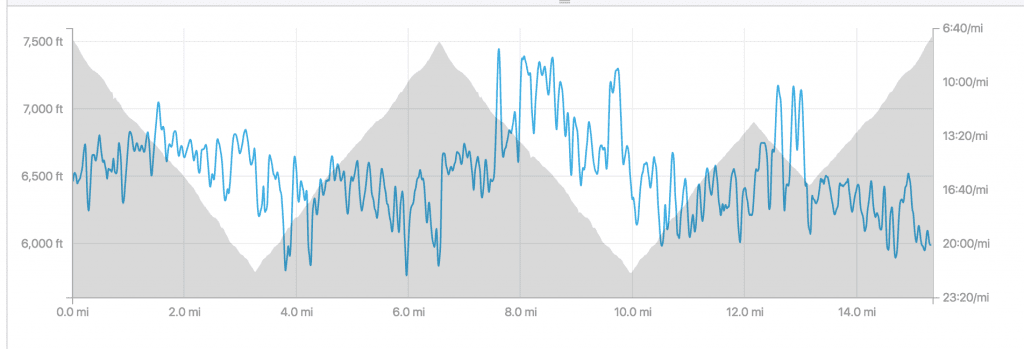
Lookout Mountain for me: down, up, down, some up, little down, all the way back up.
- Do your long hikes on hilly terrain. If you live near any mountains, head there, and ideally to the top to start so you can mimic the downhill of the Cnayon. My two longest hikes were on Lookout Mountain; I started at the top, went down about 1,700 feet, then climbed back up, went back down again, and climbed up again. The J-Team don’t have mountains at their disposal, but they do have Afton Alps, a local ski area where they did hill repeats for an hour at the beginning of the workout. Hiked for 2 hours on hilly terrain, then did another hour of hill repeats.Ideally, if you’re headed from S to N Rim in one day, your longest hike should build up to around 18 miles and include 2,500-3,000 feet of climbing/descending.

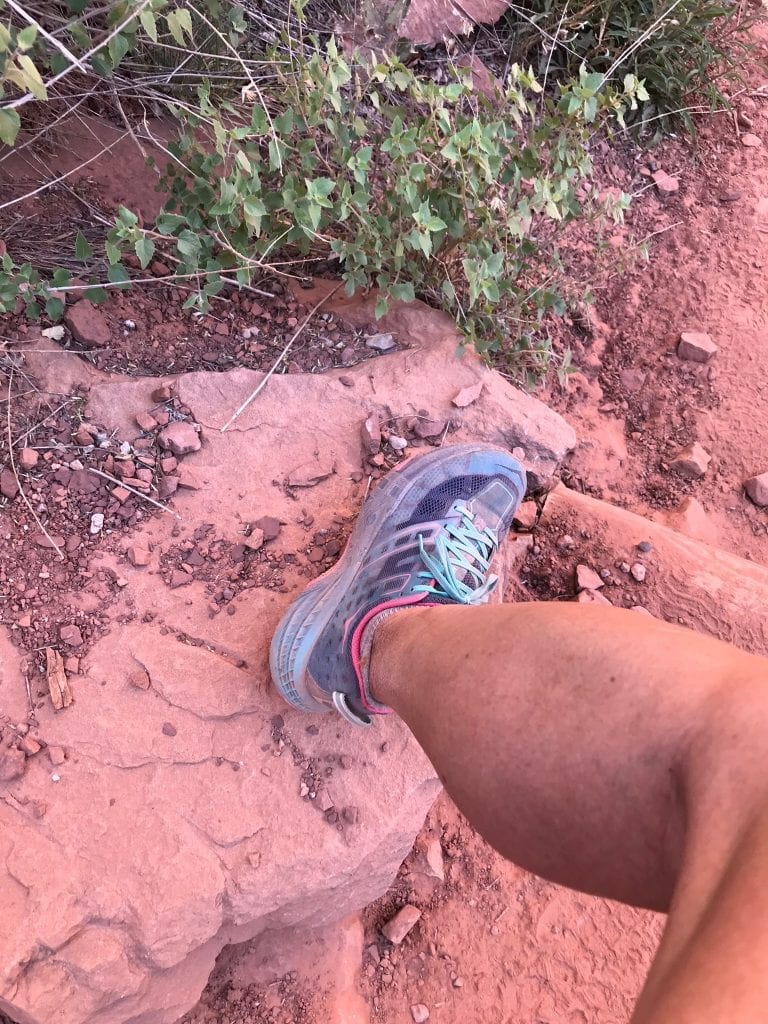
Jess took this picture of her calf on the trail, “Just because it looked so strong.” Damn straight, sister.
- Get strong, especially around your ankles, hips, and knees—the joints that take the brunt of the downhill. One-legged squats with good form are key; we did them 2-3 times a week. This Back to Basics routine has everything you need—you just need to do it three times a week. Jo also took a weekly Body Pump class, and Jess really loved her strength classes + crowd at The Dungeon, which she did 2-3 times a week.
- Emphasize climbing at the gym. Two staple workouts of the week: An hour on Stepmill or Stairmaster (build up to 60 minutes, and keep the pace sustainable)‚ and an hour of walking quickly on the treadmill on an incline (changing it up between 5-12%, build up to an hour). The other cardio days were easy runs, swims, rides, always leaving enough time to make sure to get in strength.
Other training things to consider:

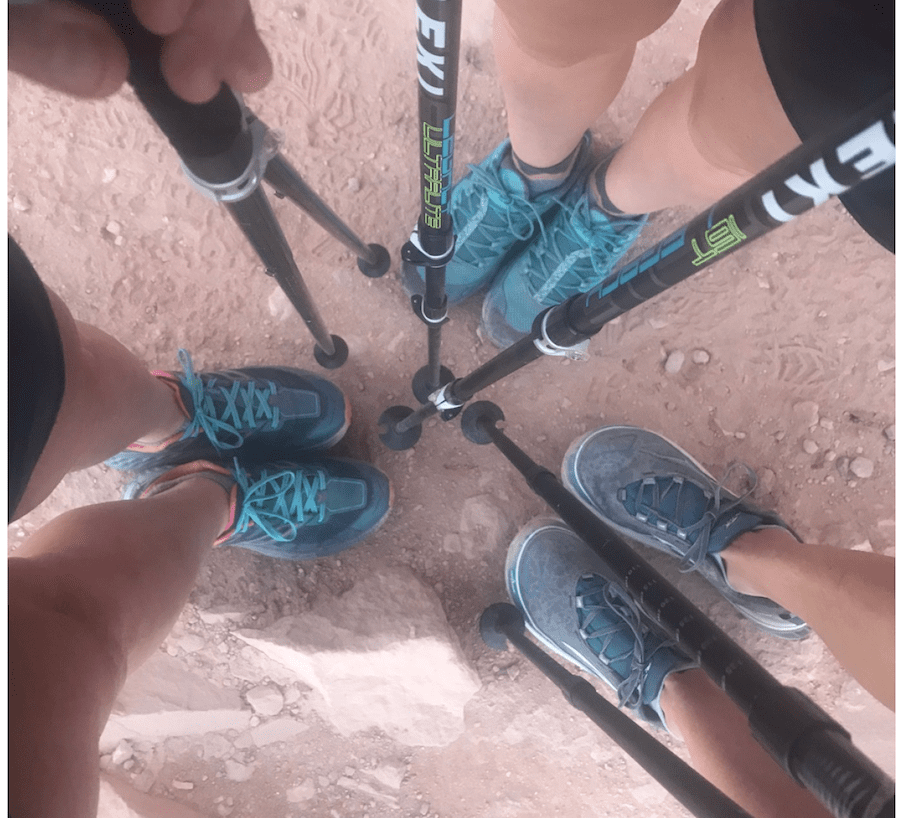
Hiking poles! Use them. I admit, I didn’t want to use them initially–and yes, that was my ego–but once I tried them on a long hike, I was sold. Four hooves are better than two, especially when you’re heading down and your joints feel every.single.step. On the flats and some of the ascents, I carried them in one hand.
Practice with your Canyon gear! If you are carrying a hydration pack, use it on all your long runs. Ditto for a backpack, special jacket you have to have, whatever. This also goes for nutrition and hydration.
Eat. Eat. Eat. If you are hiking, it doesn’t feel as intense as running. Still, you are working hard for a full, epic day. On long hikes, we practiced eating (or drinking) 200-300 calories an hour, starting from the first hour, even though you likely feel full from breakfast.
Yes, that sounds like a lot of food—and we were probably closer to 200— but we really wanted to avoid that nauseous feeling that can be caused by too much water sloshing around in your belly, not enough calories in your belly, heat, overexertion, and a host of other things. Once you get to that place, it is extremely hard to get more food down, especially when you’re in relentless sun and staring down hours of climbing. You’re in for a rough day.
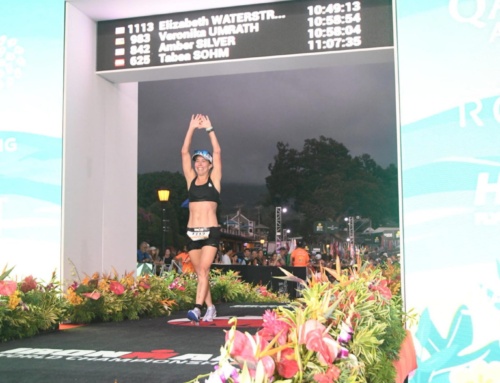
Having a steady stream of calories is vital; we witnessed that first-hand the night before our hike. While dropping a car at the north rim, we saw a group of women coming out from Rim to Rim. One of them was as pale as blank screen; she hadn’t been diligent about eating and drinking, her hiking mates said, and it took them over 2 hours to cover the last two miles.
Stuff we ate: tortilas/bagels with peanut butter; date/coconut balls or other DIY energy bites; GU gels + chews; cookies like oreos; gorp (without chocolate in it…otherwise, it’ll melt into a cow pie); potato chips. We also had salt tablets.
Drink. Drink. Drink. This is a no-brainer, but it deserves to be mentioned. We all carried 60-80 ounce bladders in our hydration packs, and had two hand-held bottles among us as well, and refilled at every opportunity, even if the bladder was half full. We sipped frequently, not relying solely on thirst to be our indication of when to drink. Happy to say we all emptied our bladders—both the ones on our backs and the ones in our bodies—plenty of times during the day.
Rim-to-Rim Logistics
If I have one bit of advice about logistics, it’s this: Plan far in advance, and coordiante your reservations before picking the one specific day you want to hike. Because the Canyon is so popular, availability will play more of a role than if you were, say, hiking a 14’er in Colorado. If you are going to stop or start on the North Rim, you need to wait until mid-May, when it officially opens for the year. (It was open on May 15th this year.)
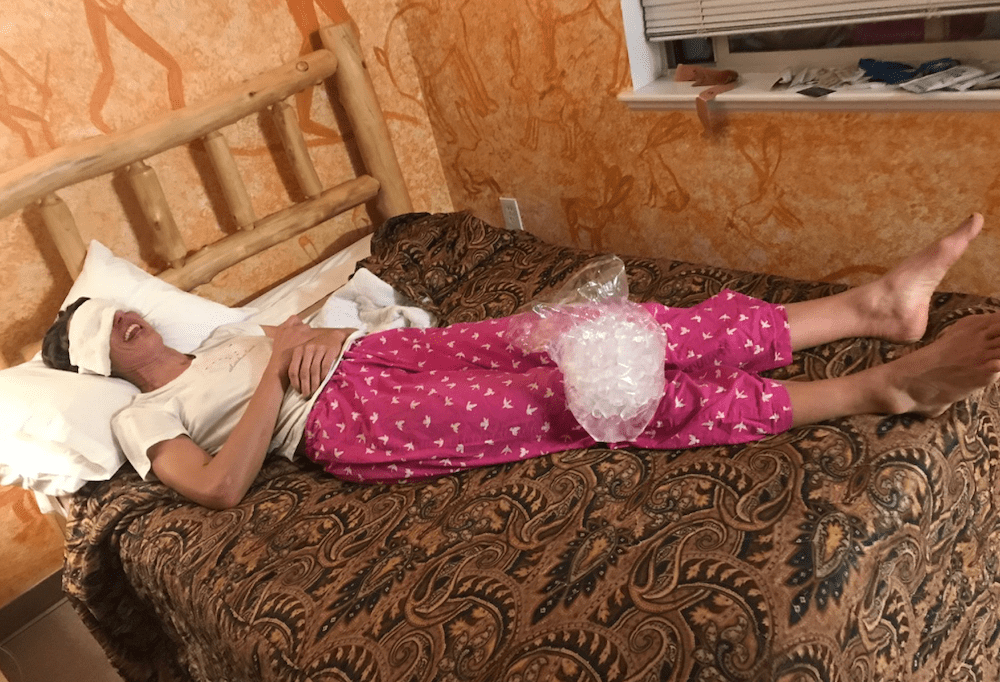
The Kaibob lodge. No wi-fi, no TV, questionable taste in bedspeads, but exactly what we needed: clean + hot water for three full showers. Lots of laughs too, even with a sore knee and stubborn sand in my eye from the trail. (Thank you again to the J-Team, who snuggled in close so I could have my own full size bed that night.)
There are only three non-camping places to stay on the North Rim; we ended up getting a room at the Kaibob Lodge, which is 15 miles from the Rim–not exactly a short commute to a bed after a long day. (The Grand Canyon Lodge is about 2 miles from the Rim, which sounds walkable…and it is, but it could still be a long two miles after a long day.) As of this writing (June 2018) as far as I can tell, there are no shuttle services or taxis that pick you up on the North Rim and take you to your desired spot.
As such, having a designated driver would be great. We didn’t have that option, so we spent a lot of time driving; about 10 hours the day before the hike, and about 7 the day after. That’s a lot of sitting and driving, so if you’re making a weekend trip, be prepared for the general weariness long travel can bring on.
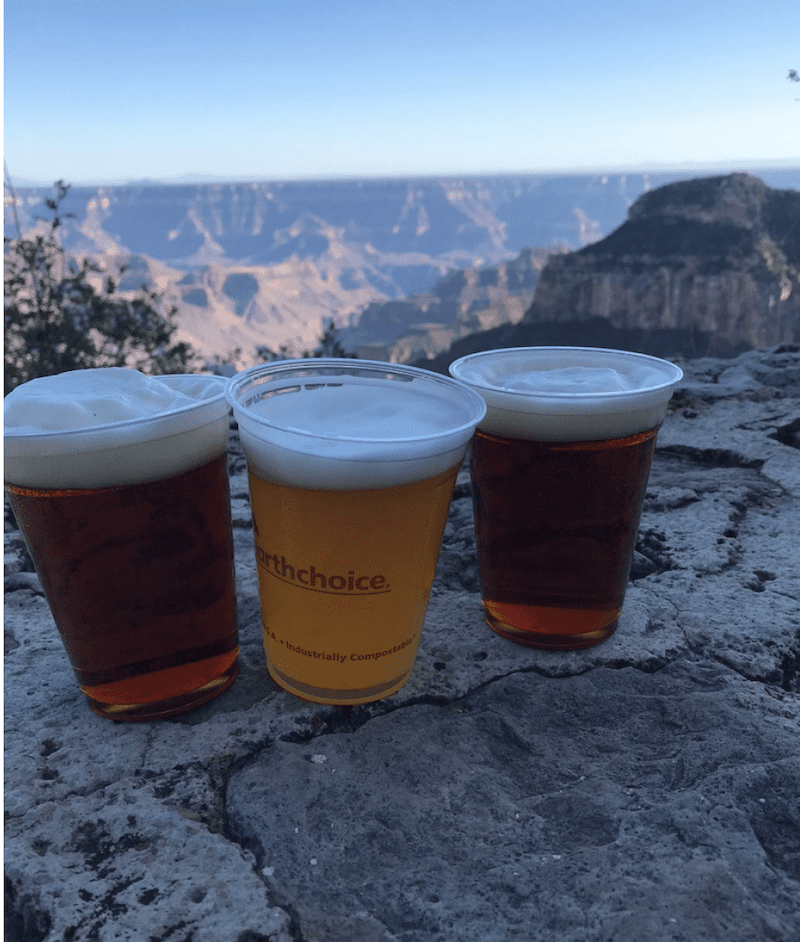
Even if you can’t snag a room at th Grand Canyon Lodge, sitting on the deck with a cold one and taking it all in: a Must.
Basic of our trip: After landing in Phoenix, the J-Team and I each rented a car. Stopped for lunch in Flagstaff. Drove to the North Rim and dropped a car and grabbed a quick bite. Drove back to the South Rim, where we arrived at our hotel at 11:30 pm. We woke at 4 am, left a car in the back-country lot, and were hiking by 5:05 am. Done by 5:10 pm or so. Hopped back in the car, headed to the Grand Canyon Lodge for a celebratory beer, then drove to Kaibob Lodge for a burger and bed. Up early, good breakfast, back on the road. Four or so hours later, back at the other car on the South Rim, a few pics, then back to Phoenix, where it was a balmy 106 degrees.
Driving back, we stopped to take some pics. If we ever release a #motherrunner album, this will be the cover.
We met a handful of people who were hiking South to North one day, spending the night on the North rim, then hiking North to South the following day. After finishing one day, that option didn’t sound super appealing to me, but then again, I trained with the perspective of just going one direction. I may have felt differently after if I knew we were making it a double-header.
And if you’re a runner, and can do Rim-to-Rim-to-Rim in one day, you solve many of the logistical issues starting and ending in the same place.
You can write a whole website on logistics—and others, much more in the know than I am, have. Grand Canyon Hikers on Facebook and the Rim to Rim website are both super helpful.


Ok so where’s the link to buy the caps – we all want one now. And I love that Birkenstocks are part of the uniform . Such. Great blog post – so much great info.
Sounds fantastic! Way to go ladies!
I think I would have taken advantage of the shuttle that goes from South to North and back again instead of having to drive and drop off a car. It’s a LONG way over to the North Rim and back…or go over and back in the same day! (Yes, I have done this!)
Ladies, so impressed. Now let’s plan a section hike on the Appalachian trail on the BEAST Coast! I am dreaming of a thru hike one day:)
Would add consider a backpack adventure, getting off the corridor trails and checking out the back country trails. There are miles and miles of trails to explore. Backpacking we typically averaged 10 miles/day over 5-6 days. Reasonable distance with packs, allowing for breaks, play time, and simply taking in the scenery. The canyon is amazing. Would go back in a heartbeat.
I love hiking the Grand Canyon! You are making me want to go back!!! I’ve been all over the south rim and to the bottom but never to the north rim. It sounds amazing!
OMG I so want to do this some day! THANKS for sharing
Thank you so much. All this insight is awesome and super-helpful for me and my crew of 5 friends getting ready for this hike in September. To the stepmill I go!
This is such a great story! I would love it if you and the J-Team would talk about it on an AMR or TLAM podcast! The blog posts have been great. This is on my list for sure.
A group of friends and I hiked North to South R2R the day after your adventure. I think that’s the easier direction, more mileage going up Bright Angel, but not as steep. Took us 15 1/2 glorious fun filled hours (and I really mean that). I am from Phoenix and since we run all summer, I was well prepared for the heat. I’ve hiked in the canyon several times, but at 58 yrs old. I’m sure this will be my only crossing. It was a trip of a lifetime!
Beef jerky! I should’ve greeted you at the airport with homemade beef jerky. I get the dehydrator going a couple days before any trip to the Grand Canyon. That constant snacking thing is no joke! Next time I will hook you gals up!
An HOUR on the stepmill? I just gave the one in my gym a try and I made it about two minutes before my heart was beating out of my chest. So many props and kudos to you three! I loved hearing all about it!
Easy effort, Mary! Definitely need to build up time, but you go at a pace that is sustainable. :)