
You likely have a foam roller at home—and maybe a massage gun you pull out to hit your quads while you’re watching The Crown.
But what about a muscle scraper or a cupping set? These tools aren’t exclusively in a physical therapist’s office anymore. You can now cup your own lower back while scraping your calves and strengthening your feet (not that we’re recommending that degree of multitasking).
What are the best physical therapy tools for home? We asked Christy Diller, PT, who gives helpful advice to our Many Happy Miles members on the regular, what she uses on herself at home and on the high school track and cross-country teams she coaches.

MUSCLE SCRAPING
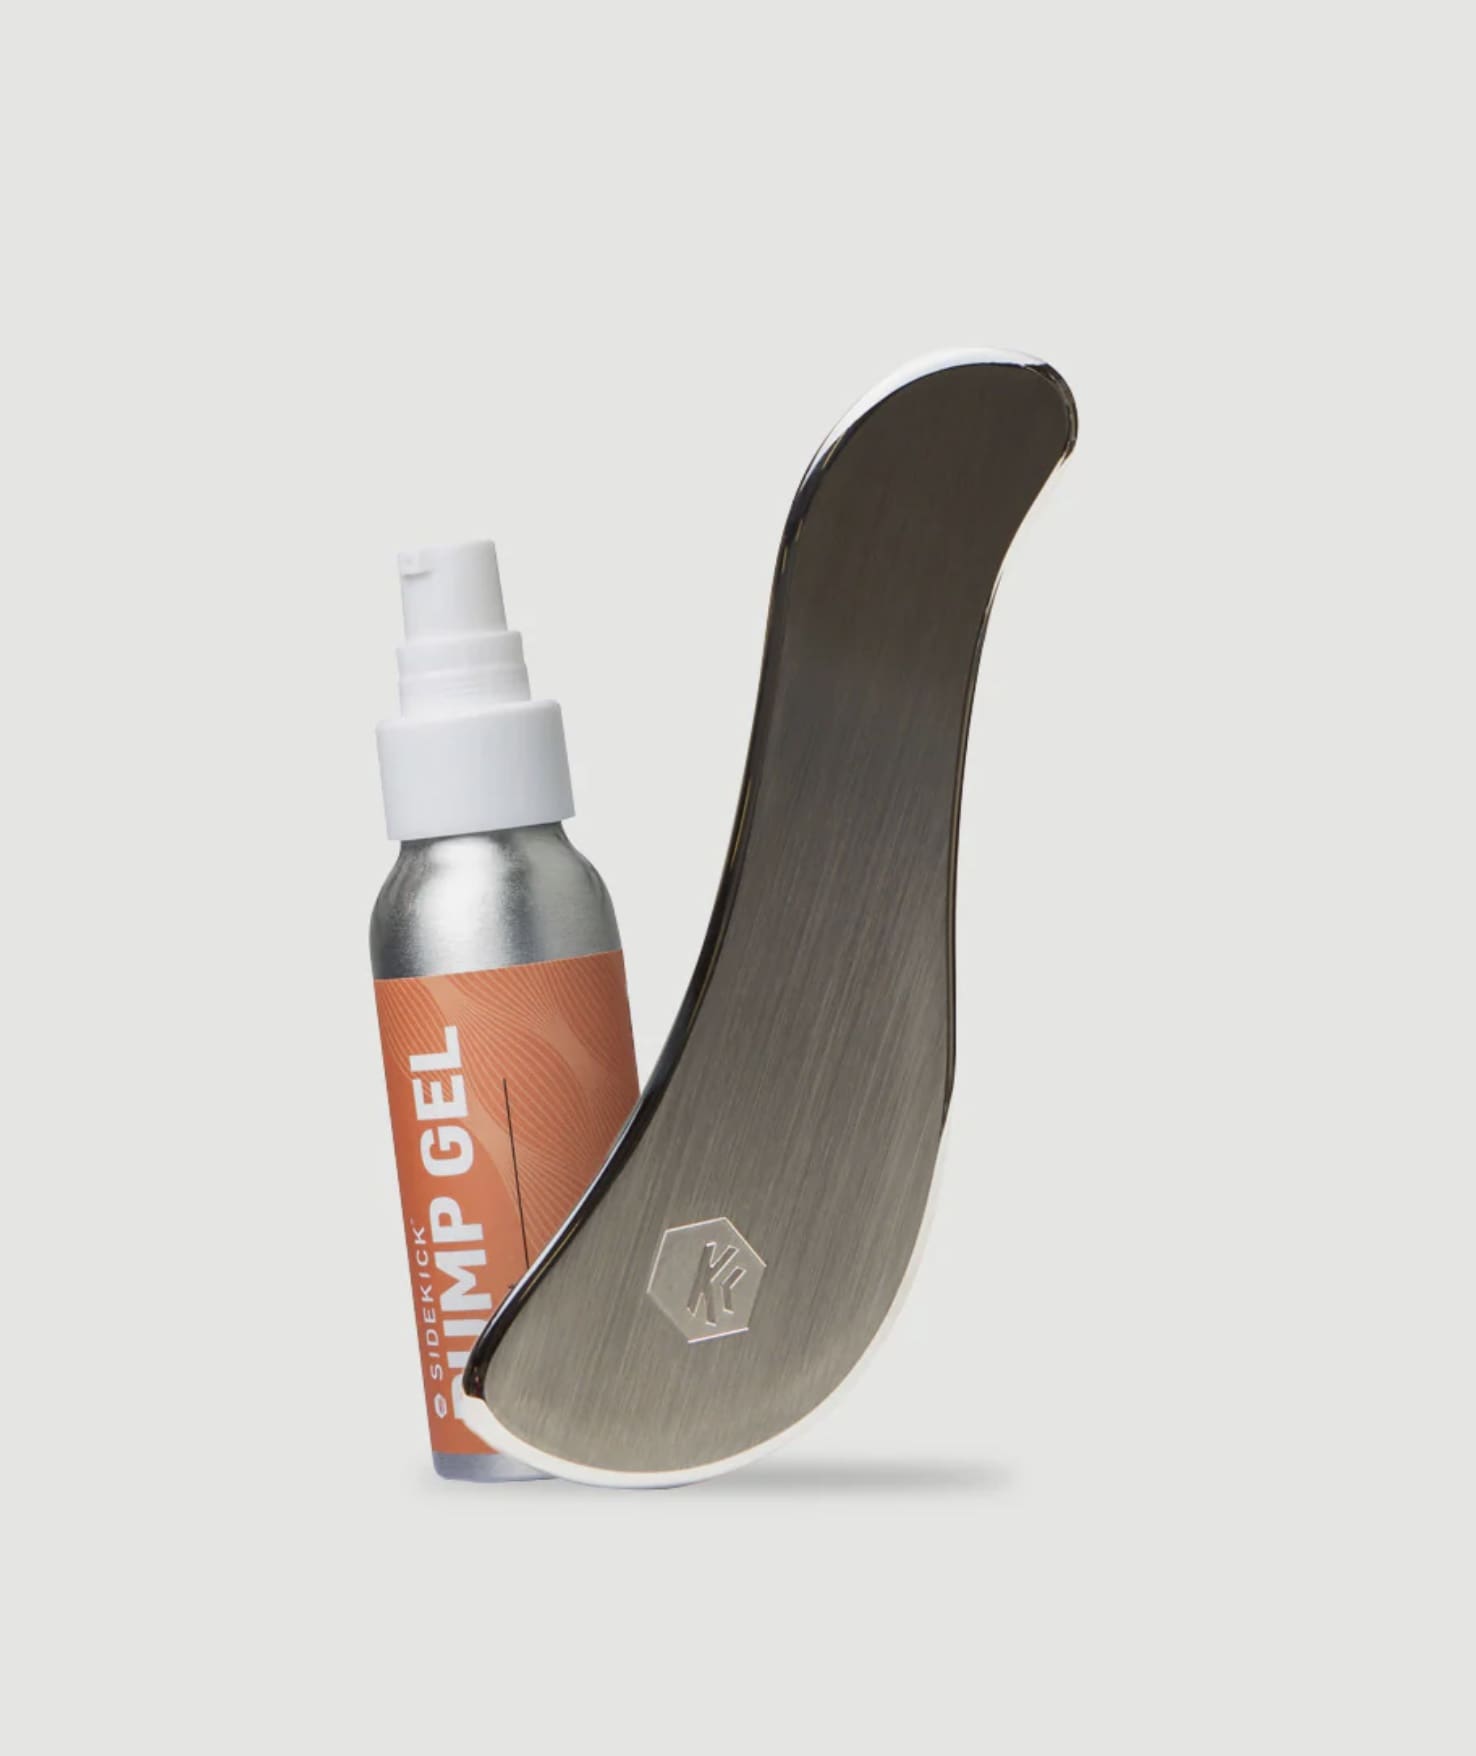
The Tool: Sidekick Muscle Scraper ($50-170)
Muscle scraping is great for increasing blood flow to soft tissues as well as to help decrease tension in tight or sore muscles. It can be used as a warm up, as well as maintenance for muscle recovery and or treatment for an injury. A little goes a long way; you can deliver anywhere from very light pressure to lots of pressure. Sidekick also has great tutorial videos on their website to help you get started!
How I use it: I have both the Echo ($135) and the Eclipse ($119)—yes, I’m a PT nerd!—and carry them in my coaching bag for every high school track and cross-country practice. There are definitely cheaper options out there, but I appreciate the weight and feel of their tools, and the option to use the different edges on varying muscles.
Tips: Scraping works best over “meaty” areas: soft tissue like quads or calves, not bony areas like knees. Adjust your pressure to your preference, erring on the side of less is more. Scrape anywhere from 30 seconds to 2-3 minutes on an area, varying your direction while still following the direction of the muscle. Avoid scraping over any areas of broken skin or any rashes/sensitive areas

CUPPING
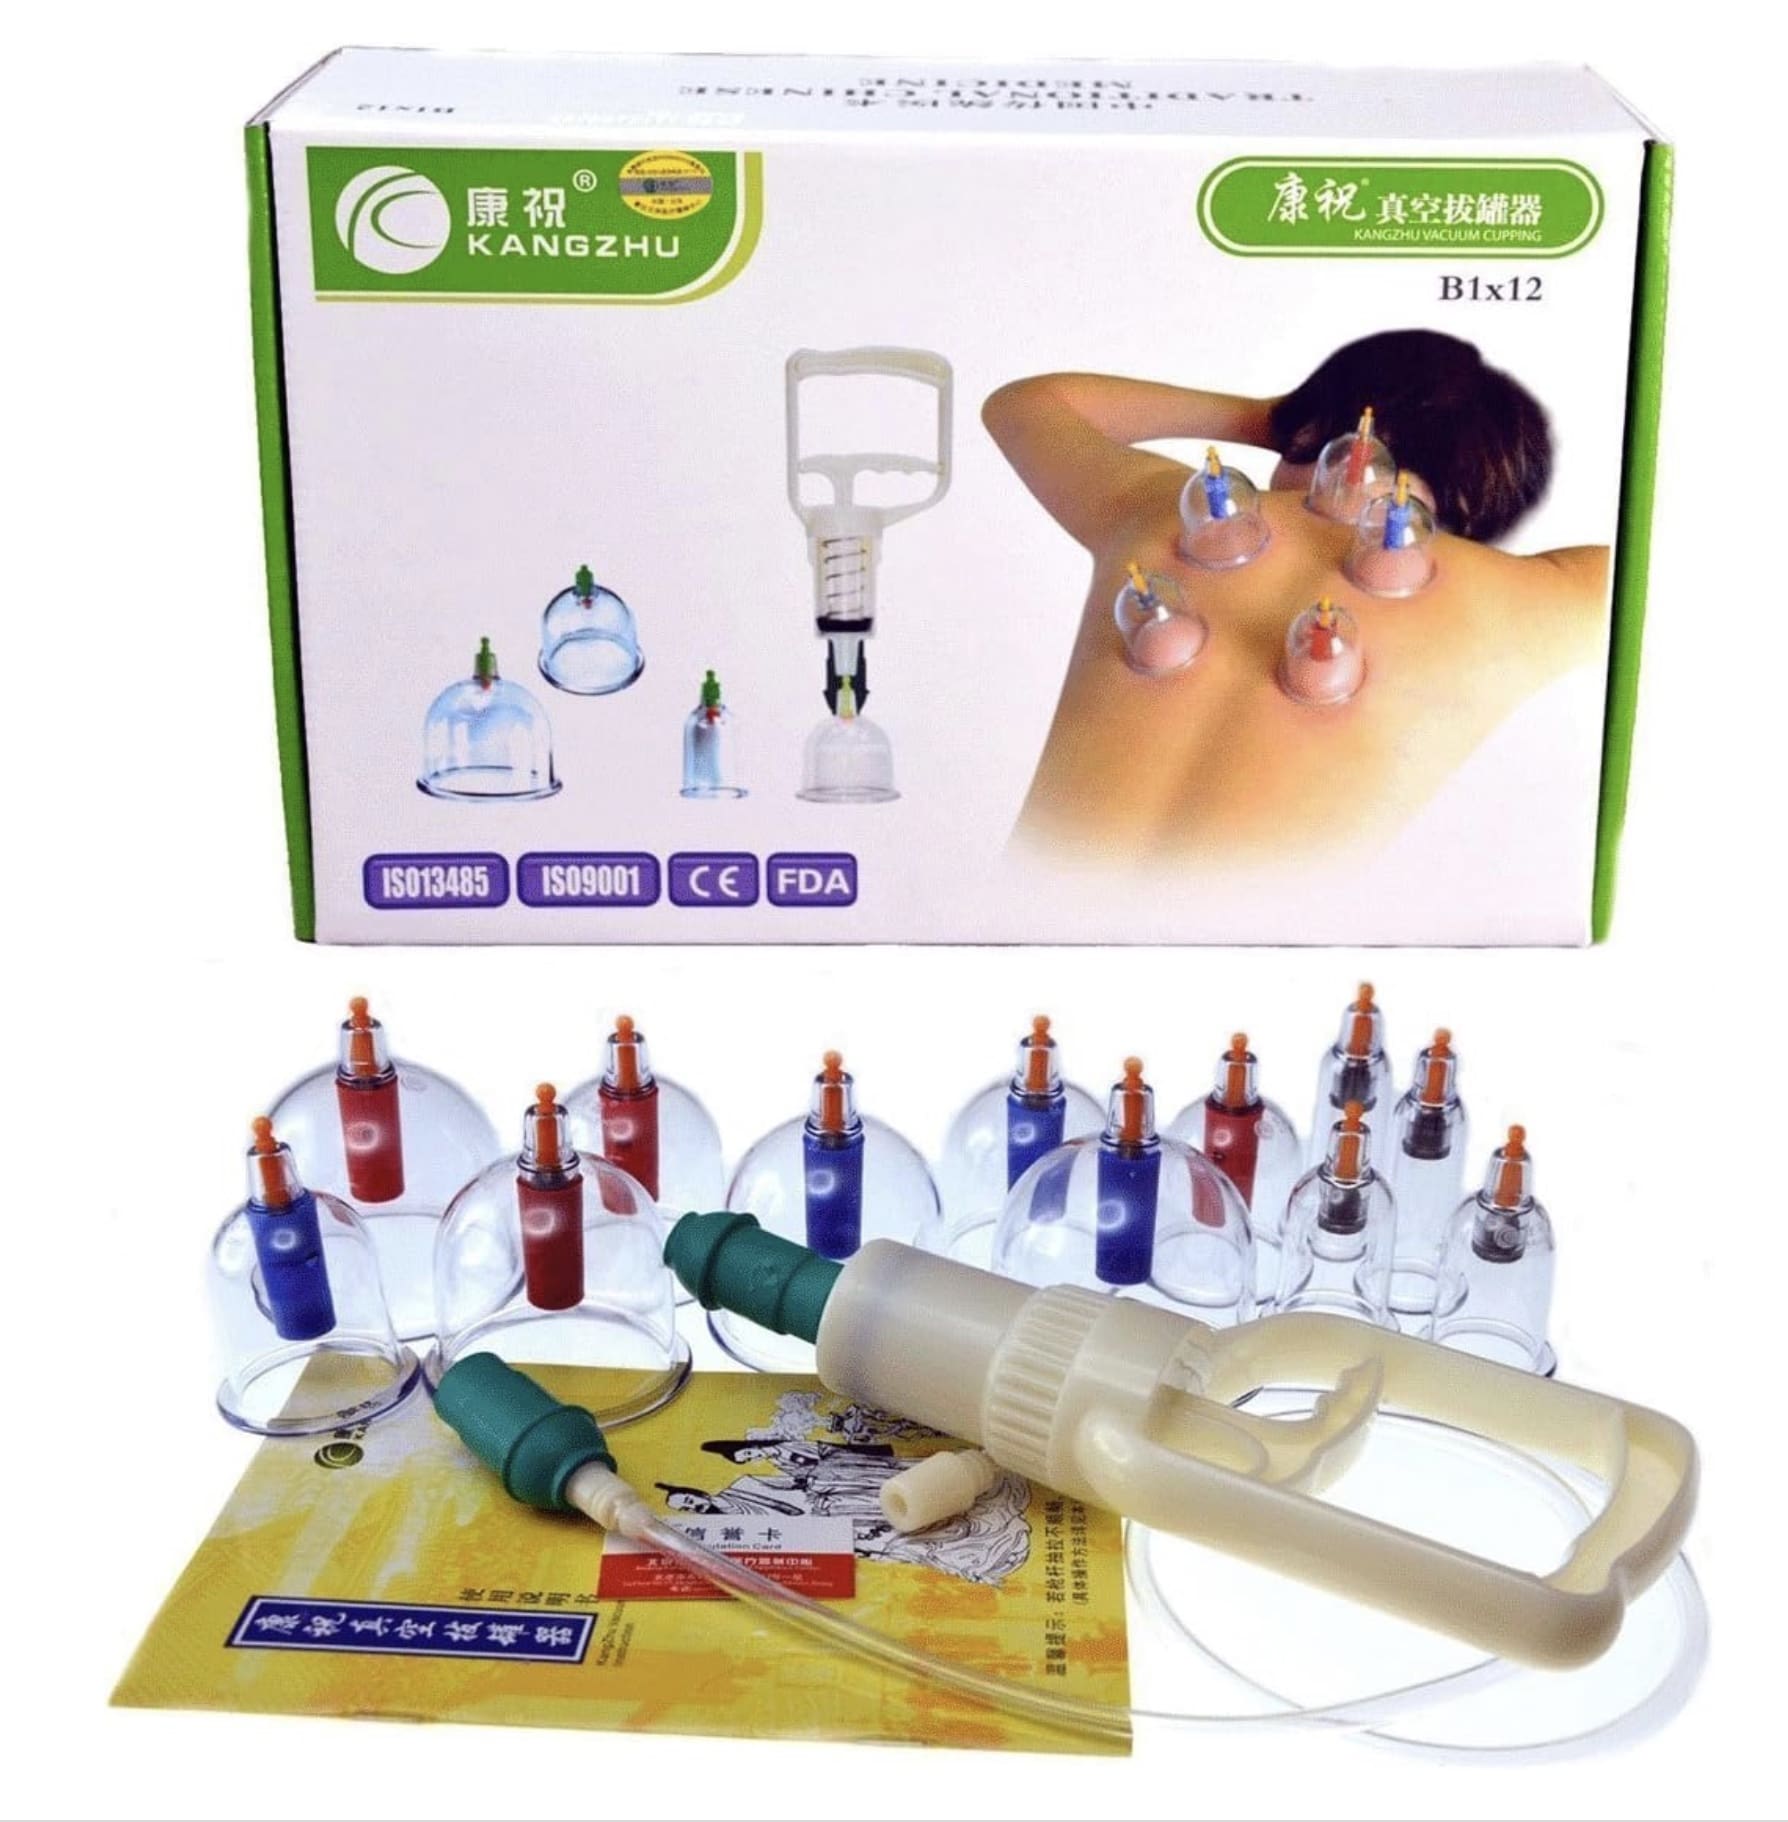
The Tool: Kangzhu 12-Cup Biomagnetic Chinese Cupping Therapy Set ($16.95)
Cupping is used to decompress tight tissue. It is also used to help increase blood flow to an area which can speed up healing, improve flexibility, and reduce pain. There are plenty of cupping options at Amazon, but I’ve included the set I have at home. I like the plastic cups instead of softer cups because it’s easier toadjust the pressure.
How I use them: I most often use the cups on my own back—I have a moderate scoliosis—but have my spouse help me put them on. It is really helpful when my back gets tight. When I am cupping my kids or athletes, I use them most often for tight calves and tight shoulders; both are areas one could easily do on their own.
Tips: This modality also works best over soft tissue areas and/or muscle bellies. A general rule is keep the cups on between 6-8 minutes; never keep them on more than 10 minutes. You can easily adjust the pressure of the suction, and increase the number of cups after you have practiced a few times. Make sure to increase your water intake post cupping to help with healing and decrease any post cupping discomfort.

KINESIOTAPE
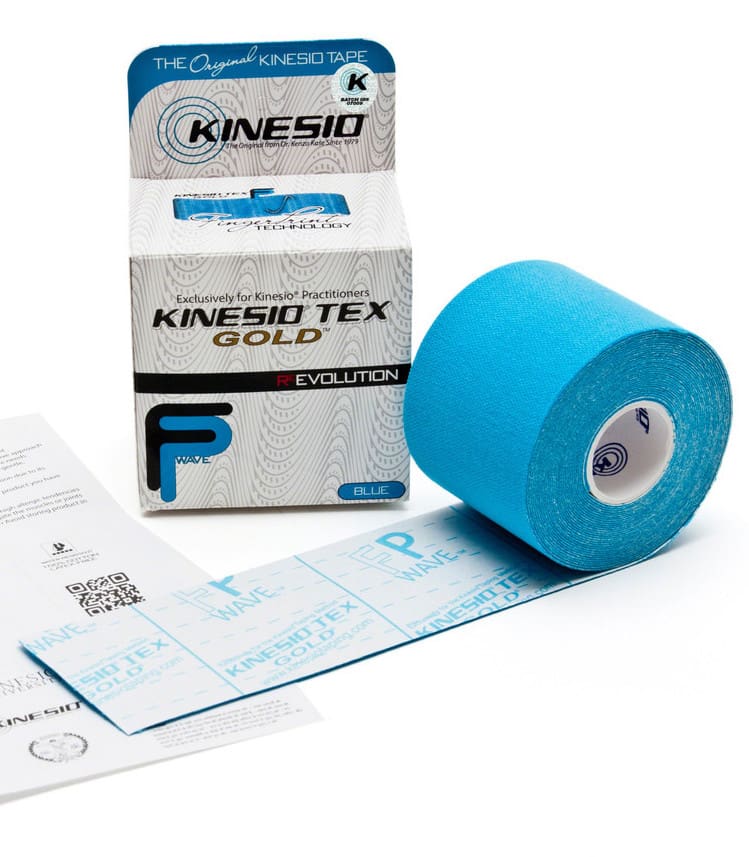
The Tool: Kinesio Tex Gold Tape ($17.65)
Kinesiotape can be used anywhere. It works best to help support tight, sore muscles, as well as to help activate a muscle, and even to help relieve pain and swelling. There are tons of tutorials on taping on YouTube. I prefer the Kinesiotape brand as it tends to stick really well, and because you can cut it to customize the fit to any area on the body. Kinesiotape also makes pre-cuts to help take some of the guesswork out of taping.
How I use it: I tape myself on spots that feel like they could use a little extra support. I can tape my legs and arms (from the elbows down) myself, but when I need my back taped, I ask my husband for help. I also carry tape in my coaching bag.
Tips: You can tape over bony areas, but avoid taping over any open wounds, rashes, or areas of infection. Be mindful of areas that are hairy or have sensitive skin, like the abdomen. Avoid pulling the tape too tightly; lightly laying the tape on works best. You can keep the tape on for up to a week or even longer as long as it does not irritate the skin. You can also wear in the shower or pool; just be sure to pat the tape dry to avoid it pulling off.

FOOT STRENGTH + MOBILITY
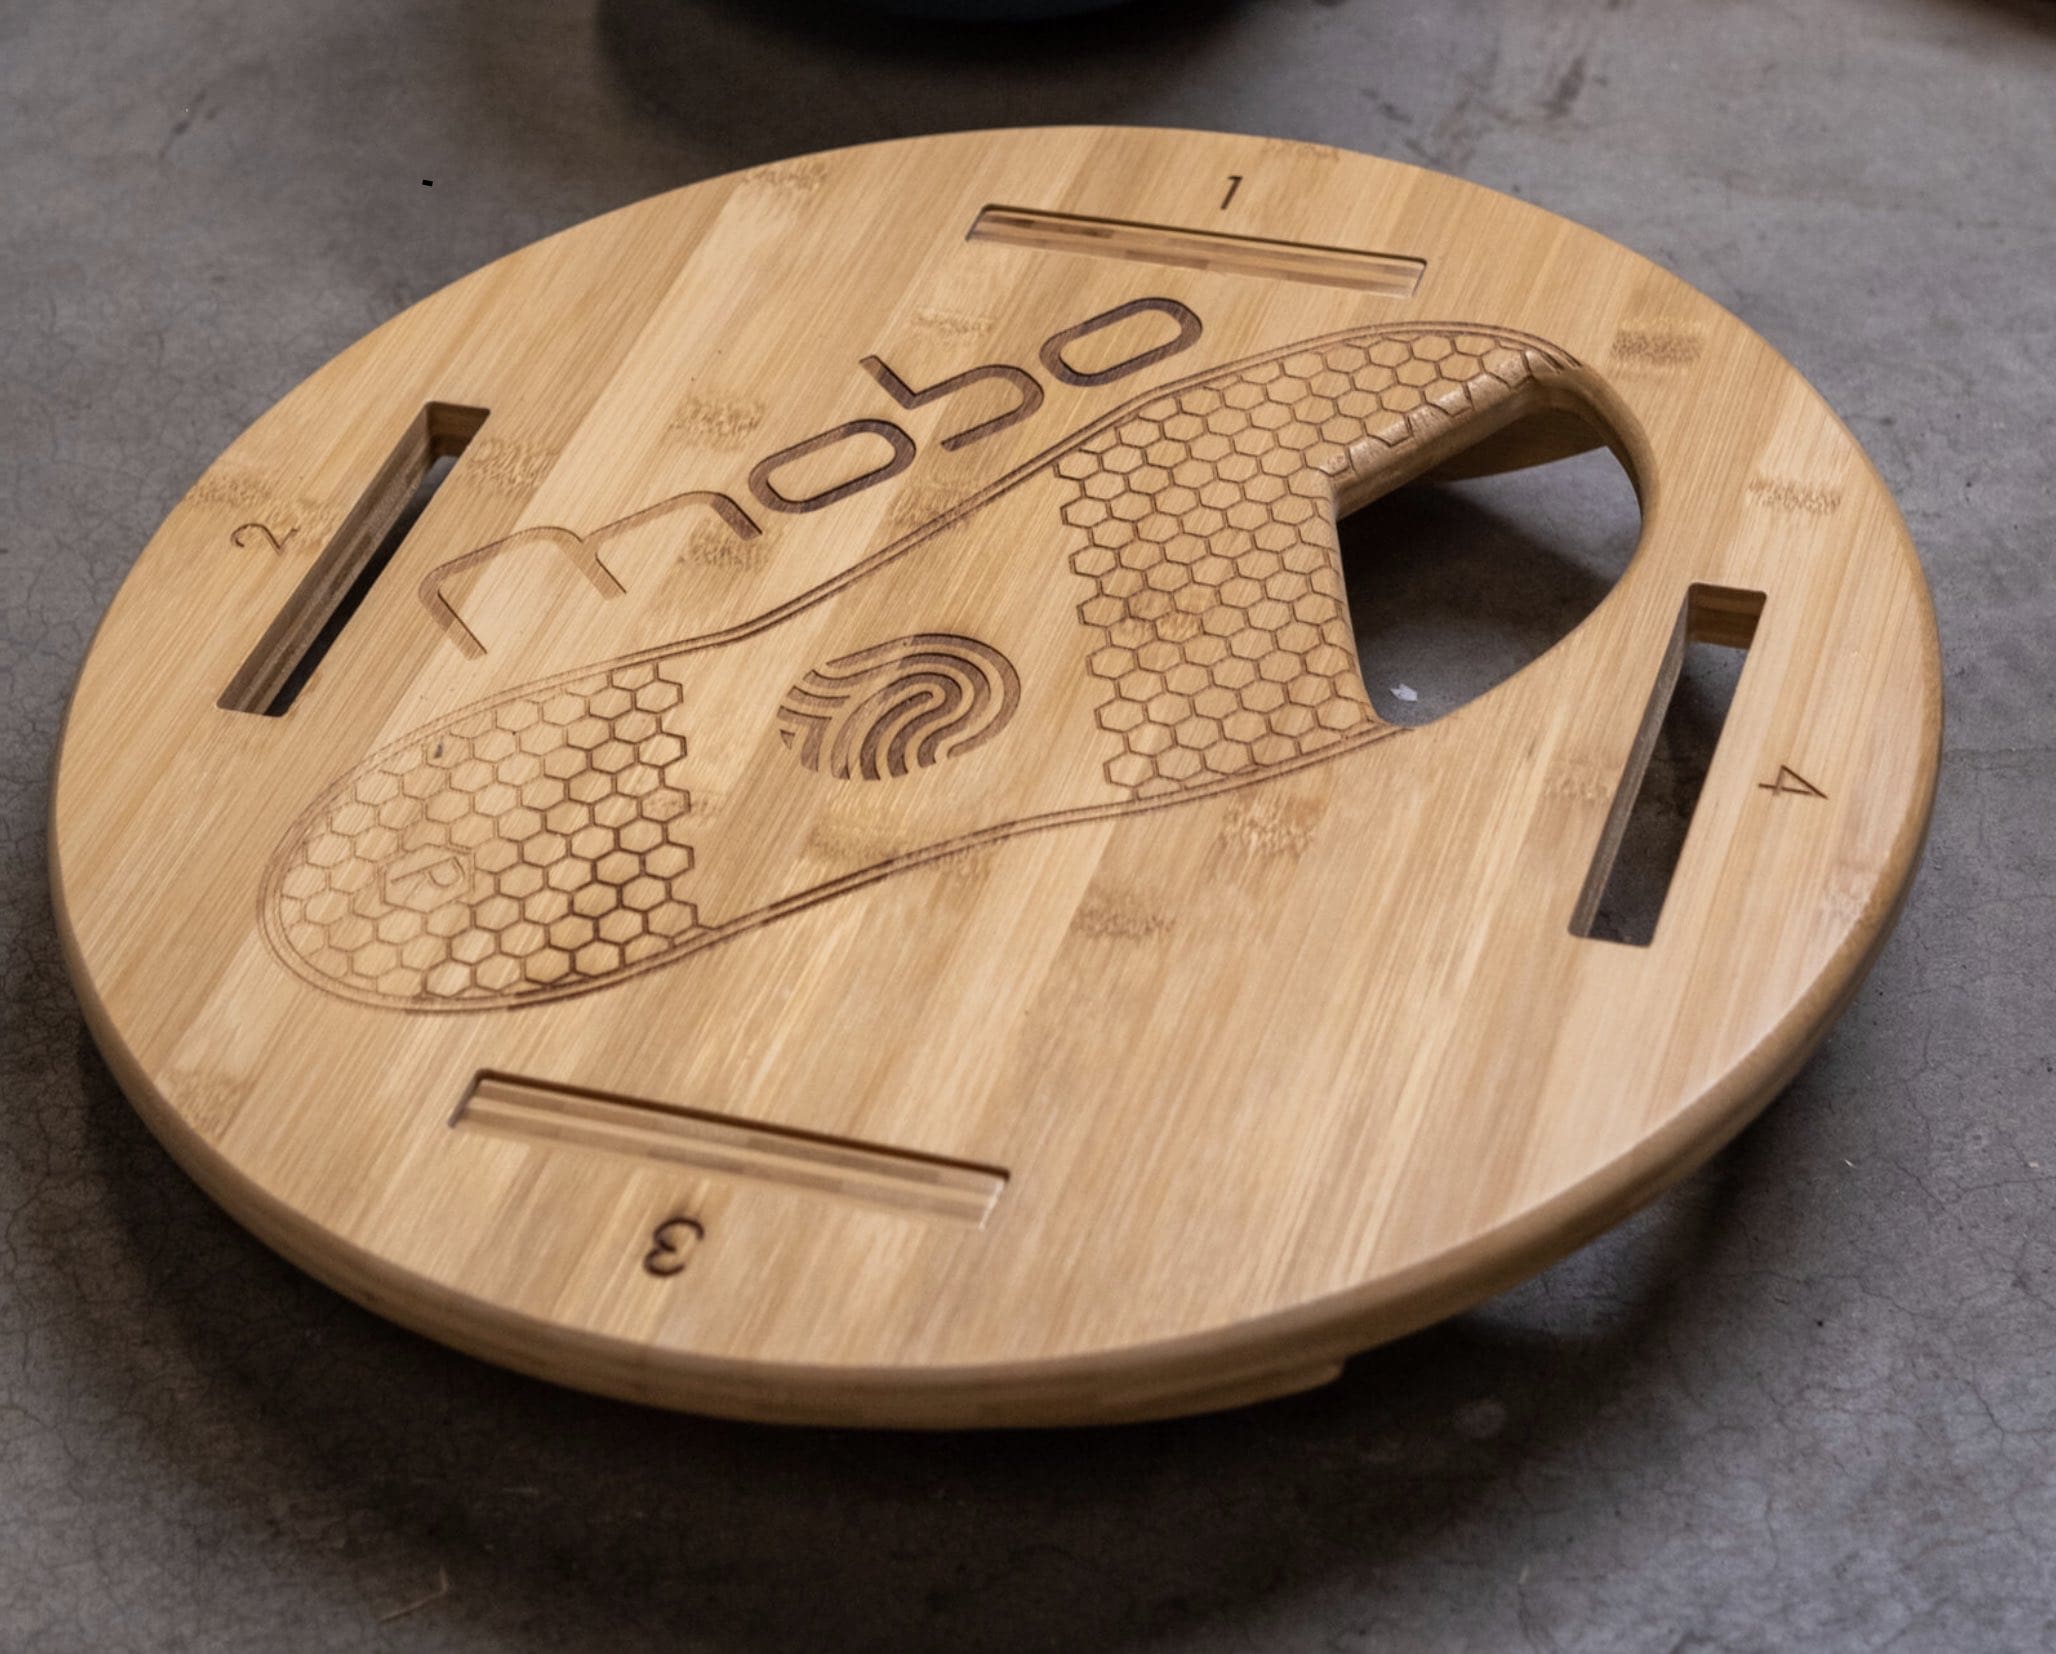
The Tool: MoBo Board ($89.95)
The MoBo board was developed by Jay Dicharry, an acclaimed physical therapist in the running world, to help better train and strengthen the medial foot. So many injuries are a function of weakness or poor control in the feet. This board forces work to oft-neglected areas of the foot and ankle, which strengthens the entire lower kinetic chain and improves overall stability AND mobility.
They have a fabulous website with information on how to help rehab lower leg injuries and how to help strengthen weakened areas of your foot/ankles/lower legs.
How I use it: I use the MOBO board when I feel excess tightness in my calves or soreness in my feet; usually 2-3 times a week for a few minutes at a time. I mostly work on single leg standing for 30ish seconds and add in movement of the opposite leg once I have the balance down.
Tips: You need to have good feeling and sensation in your feet for best use; barefoot works best for this tool as one of the main functions is to increase awareness and activation of the foot/ankle complex. Do not use with any acute fractures of the foot or lower leg.

TOE ALIGNMENT
The Tool: Mind Bodhi Toe Separators ($9.99)
Toe separators are a pretty easy thing to use to help with bunions, foot strength, and muscular endurance. The idea behind them is helping to realign the foot to it’s more natural state vs. the squished toes that most of us have. Putting the toes back into more normal alignment allows the foot and toe muscles to work as they were designed and helps cut down on injuries and foot pain.
How I use them: Like the Mobo board, I use these when my calves and feet are talking to me. I only wear them for 15-30 minutes at a time—it’s a pretty big change for my feet—around the house in the evening, sans shoes. I try to use them daily or at least 4 times week when I’m working on an issue.
Tips: I usually just recommend people trying these at home while barefoot for short periods of time and building up to use for an hour or two if you like. Some people wear these in their shoes full time, but that isn’t necessary to still get some benefit. These are also a great option for people with hammer toes!


Leave A Comment
You must be logged in to post a comment.